There are few homeowner experiences quite as universally panic-inducing as the sudden sound of rushing water where there shouldn’t be any, or the slow, ominous rise of dark water in a sink or bathtub that refuses to drain. Whether you wake up in the middle of the night to a flooded basement or find yourself ankle-deep in a kitchen disaster right before hosting a holiday dinner, a plumbing emergency can make you feel entirely helpless. It is incredibly stressful to watch your home—and your valuable possessions—fall victim to an unpredictable element like water. Your stress in these moments is completely valid; water is highly destructive, and the clock is always ticking.
However, allowing panic to take the wheel is the fastest way to turn a manageable situation into a catastrophic financial loss. Reacting calmly and swiftly is the difference between a minor cleanup requiring a few towels and thousands of dollars in deep structural damage, mold remediation, and ruined drywall. When water is flowing uncontrollably, or a pipe is entirely backed up, knowing exactly what to do in the first five minutes is critical.
This comprehensive guide is designed to transform you from a panicked bystander into a prepared, capable homeowner. We will walk through the exact steps you need to take to immediately halt the flow of water and mitigate damage. From there, we will dive deep into troubleshooting stubborn blockages safely, managing kitchen-specific disasters, and identifying when an issue is actually a hidden underground nightmare. Most importantly, you will learn exactly when a situation has moved beyond DIY territory and requires professional intervention, ensuring you protect your home and your wallet.
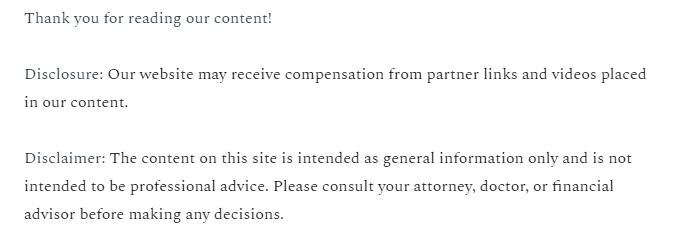
Immediate Actions: Stop the Flow and Mitigate Damage
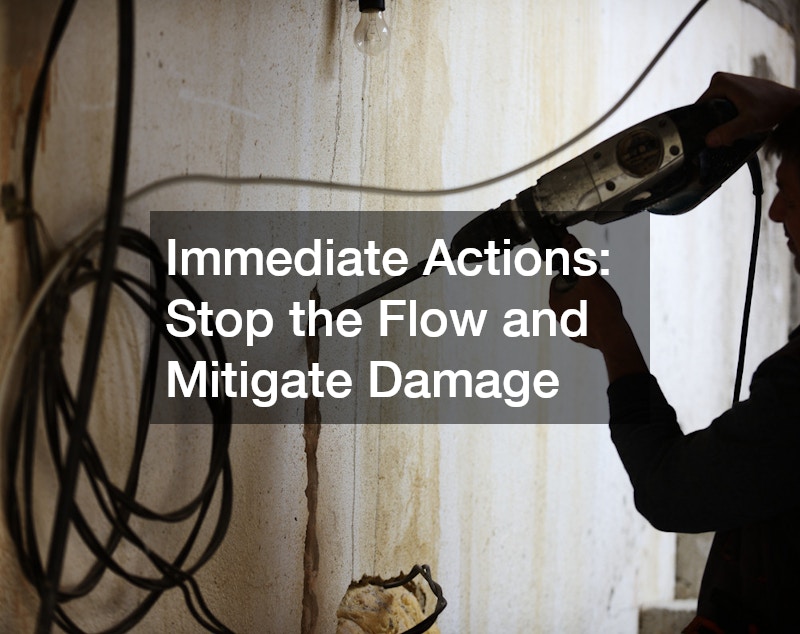
Locate and Test Your Main Water Shut-Off Valve Before Disaster Strikes
The absolute first rule of handling any active leak or burst pipe is to cut off the water supply. If you wait until a pipe bursts to go hunting for your main shut-off valve, you will waste precious minutes while gallons of water pour into your living space. Every adult in your household needs to know exactly where this valve is located. In warmer climates, it is often found outside on an exterior wall or in an underground utility box near the street. In colder climates, it is typically located indoors, often in a basement, crawlspace, or utility closet, near the water meter.
Finding it is only half the battle; you must also ensure it works. Valves that sit untouched for years can become corroded, stiff, or completely seized. Test your valve by turning it clockwise (to the right) until the water stops flowing from a designated open faucet. If it requires immense force or refuses to budge, do not force it, as you could snap the handle off. Many top-tier plumbing companies highly recommend taking the time to tag this valve with a brightly colored, easily identifiable label. This ensures that a house sitter, a teenager, or a panicked spouse can spot it instantly during a crisis. If your valve is stuck, getting it replaced proactively is much cheaper than dealing with a flood later.
Safely Isolate Electrical Hazards Near Standing Water
Water and electricity are a deadly combination. If a pipe has burst and water is pooling on the floor, running down walls, or dripping from ceilings near light fixtures, your immediate priority must be personal safety. Never wade into standing water if it has come into contact with electrical outlets, baseboard heaters, or appliances.
Before stepping into a flooded room, immediately go to your home’s main electrical panel and switch off the circuit breakers that supply power to the affected area. If the breaker box itself is located in the flooded zone and you cannot safely reach it, you must evacuate the home and call your utility provider to cut the power from the outside. While skilled plumbers can replace your shattered pipes and restore your water flow, they cannot and will not operate in an electrified puddle. Securing the environment is a mandatory prerequisite to any repair work. Once the power is isolated and the water is off, you can begin the physical cleanup using wet/dry vacuums, mop buckets, and heavy-duty fans to start drying out the area and preventing mold growth.
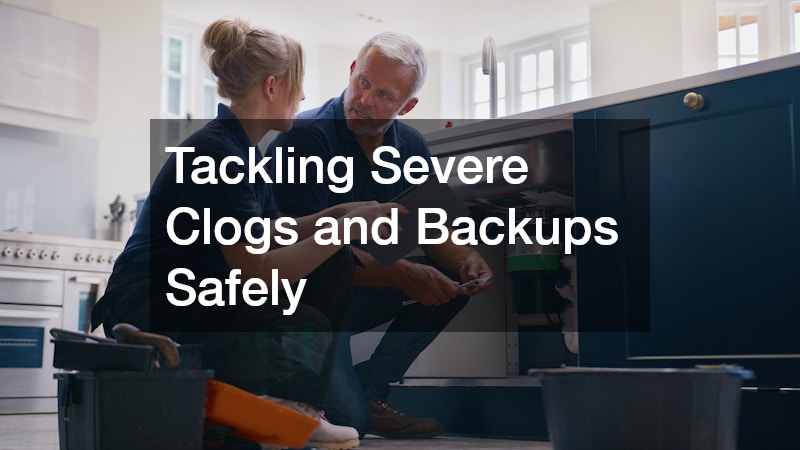
Tackling Severe Clogs and Backups Safely
Plunge Strategically and Avoid Caustic Chemical Cleaners
When faced with a stubborn clog in a toilet or sink, most people immediately reach for either a plunger or a bottle of liquid drain cleaner. The plunger is an excellent tool, provided you are using the right kind and the proper technique. For sinks, use a standard cup plunger (the flat-bottomed kind). For toilets, you need a flange plunger, which has an extended rubber lip designed to fit into the toilet trap and create a tight vacuum seal. To plunge effectively, ensure there is enough water to submerge the bell of the plunger, push down gently to release the air, and then pull up forcefully. The goal is to use the suction to break up the clog, not just force it deeper into the pipe.
What you should strictly avoid is pouring caustic chemical cleaners down your pipes. These heavily marketed liquids rely on a severe exothermic chemical reaction to generate intense heat, which theoretically burns through hair and grease. In reality, these chemicals often sit right on top of the clog, generating enough heat to soften, warp, or completely melt modern PVC piping, or eat away at the finish of older metal pipes. Furthermore, if the chemical fails to clear the clog, you are now left with a sink full of highly toxic, skin-burning acid that creates a severe hazard for whoever has to fix it next. When DIY plunging fails, relying on professional drain cleaning services ensures that the blockage is removed mechanically, safely, and permanently without subjecting your plumbing infrastructure to damaging chemical burns.
Utilize a Hand Auger Without Damaging Fragile Pipes
If the plunger fails, the next line of defense is a manual hand auger, commonly known as a plumbing snake. This tool consists of a long, flexible steel cable wound around a spool with a hand crank. When used carefully, a hand auger is incredibly effective at hooking onto hair clogs or breaking apart soft blockages located within the first few feet of a drain.
To use an auger safely on a bathroom sink, remove the pop-up stopper, gently thread the cable down the drain, and turn the crank slowly while pushing forward. Once you feel resistance, you have likely hit the clog. Stop pushing and simply turn the crank to let the corkscrew end snag the blockage, then carefully pull it back out. You must be extremely gentle when navigating the curved trap under the sink. Forcing the steel cable with too much aggression can easily scratch the delicate porcelain of a toilet bowl or completely pierce the walls of older, brittle metal pipes, turning a simple clog into an active leak. If your hand auger extends entirely into the wall and fails to clear the issue, the blockage is deep within your main lines. This specific threshold signals the immediate need for emergency drain cleaning using heavy-duty, motorized augers or hydro-jetting equipment that can reach deep into the municipal connections.
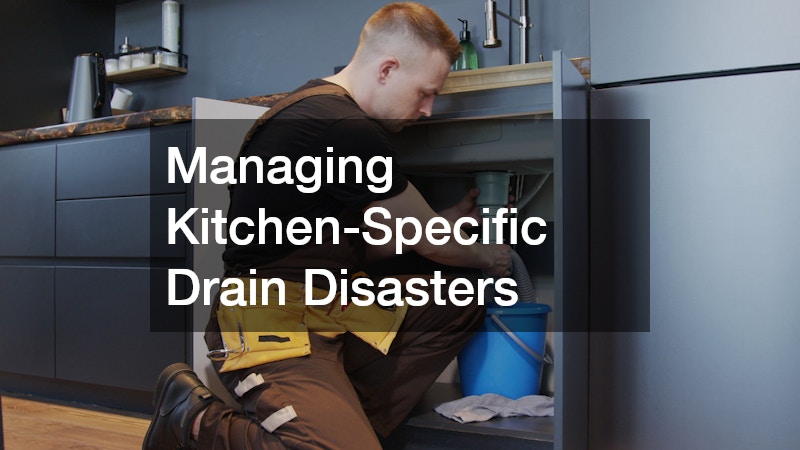
Managing Kitchen-Specific Drain Disasters
Stop Putting Fibrous Foods, Fats, and Oils Down the Disposal
The kitchen sink is ground zero for some of the most persistent and foul-smelling plumbing issues in a home. The majority of these problems stem from a fundamental misunderstanding of what a garbage disposal is actually designed to do. A disposal is meant to handle incidental food scraps left on plates before washing; it is not a primary trash receptacle.
To prevent catastrophic kitchen backups, you must implement a strict “Do Not Flush” list for your household. Fibrous and stringy foods—such as celery, asparagus, corn husks, and artichoke leaves—will quickly wrap around the disposal blades, burning out the motor and creating a dense web in the pipes. Eggshells, often falsely rumored to sharpen blades, actually grind down into a granular paste that settles in the bottom of your pipes like cement. Coffee grounds do exactly the same thing.
The worst offenders, however, are fats, oils, and grease (often referred to as FOG). Pouring warm bacon grease, butter, or cooking oil down the drain might seem harmless while it is in liquid form, but as soon as it hits the cool interior of your plumbing, it congeals into a thick, sticky mass. This mass traps passing food particles, slowly narrowing the diameter of the pipe until nothing can pass through. Many general plumbing services receive frantic calls on holidays purely because homeowners overload their systems with starchy potato peels and heavy gravy fats. Always pour cooking grease into a disposable container, let it solidify, and throw it in the trash.
Maintain Commercial and Heavy-Duty Kitchen Systems
For readers operating a home-based catering business, a commercial kitchen, or a bustling restaurant, residential rules still apply but must be scaled up significantly. High-volume kitchens produce massive quantities of fats and oils that cannot legally or safely be washed into the municipal sewer system. Doing so can cause massive “fatbergs” in city lines, leading to severe fines and forced closures.
To combat this, commercial spaces are equipped with specialized interceptors that catch and separate the oil and solid waste from the wastewater before it leaves the building. However, these systems do not empty themselves. If you manage a heavy-duty kitchen, you must prioritize managing these systems by scheduling routine grease trap services. Depending on your kitchen’s volume, these interceptors may need to be professionally pumped, scraped, and cleaned out every one to three months. Failing to maintain this strict schedule will inevitably result in the trap overflowing, pushing rancid, highly toxic waste back up through the floor drains of your kitchen, shutting down operations entirely, and creating a severe health code violation.
Handling Hidden Underground Nightmares: Sewer and Septic
Recognize the Early Warning Signs of a Main Sewer Line Collapse
Not all plumbing disasters happen inside the four walls of your home. Sometimes, the most destructive and costly emergencies originate deep underground in the main lateral line that carries all your household waste to the city sewer system. Because you cannot see this pipe, you must learn to identify the early warning signs of its failure before raw sewage backs up into your bathtubs.
The symptoms of a main line issue are usually systemic rather than localized. If you flush a toilet and water suddenly bubbles up in your shower drain, or if you run your washing machine and the kitchen sink starts to gurgle loudly, your main line is severely choked. Other warning signs include the persistent smell of raw sewage in your yard or basement, or patches of your lawn that are suddenly incredibly lush, green, and soggy compared to the rest of the grass.
Underground pipes often fail due to aging materials (like old clay or cast iron pipes collapsing) or tree root intrusion. Thirsty tree roots will seek out the microscopic moisture escaping from pipe joints, slowly infiltrating the pipe and growing into massive, impenetrable nets that block all flow. Diagnosing exactly what is happening underground requires hiring a specialized drain cleaning contractor. These professionals utilize high-definition, fiber-optic camera equipment, feeding it hundreds of feet down the line to visually inspect the interior of the pipe, pinpoint the exact location of the root mass or collapse, and determine whether the pipe needs to be hydro-jetted, lined, or completely excavated.
Keep a Strict Pumping Schedule for Off-Grid Waste Systems
For homeowners living in rural or suburban areas without access to municipal sewer lines, handling wastewater relies entirely on a private, on-site waste management setup. These systems work by separating solid waste in a large underground tank, allowing the liquid effluent to flow out into a drain field where it is naturally filtered by the soil. Inside the tank, naturally occurring bacteria slowly break down the solid waste into sludge.
While these systems are incredibly efficient when properly maintained, they are uniquely vulnerable to neglect. If the sludge at the bottom of the tank is allowed to build up too high, it will eventually overflow into the drain field. Once solid waste enters the drain field, it completely clogs the soil, preventing liquid from draining. The result is a catastrophic system failure: raw sewage pooling in your yard, toilets refusing to flush, and the potential need for a complete, multi-thousand-dollar system replacement.
To prevent this nightmare, you must calculate your tank’s capacity based on the size of your household and log a strict calendar for routine septic pumping. For an average family of four with a standard 1,000-gallon tank, having a professional come out to pump and clean the tank every three to five years is essential for maintaining a healthy bacterial balance and ensuring the longevity of the entire system.
Evaluating and Repairing Burst or Leaking Pipes

Apply Temporary Epoxy or Clamps to Minor Pinhole Leaks
Sometimes, a plumbing emergency isn’t a massive geyser but rather a tiny, relentless pinhole leak in a copper water line. Over time, these small leaks can rot out framing, destroy drywall, and cultivate dangerous black mold. If you spot a tiny stream of water spraying from a pipe, your first step is to turn off the water main.
Once the water is off and the pipe is dry, you can apply a temporary fix to restore water to your home while you wait for a permanent repair.
-
Plumber’s Epoxy: This is a two-part putty that you knead together like clay. Wrap it tightly around the dry pinhole and let it cure. It hardens into a rock-solid seal.
-
Rubber Pipe Clamps: A more secure temporary measure is a mechanical pipe repair clamp. You place a piece of thick rubber over the leak and bolt a metal sleeve tightly over the rubber, compressing it against the hole.
-
Self-Fusing Silicone Tape: Wrapping this specialized stretch tape tightly around the leak causes the tape to fuse to itself, creating a watertight barrier.
It is crucial to understand that all of these methods are strictly band-aids. The presence of a pinhole leak usually indicates that the interior of the copper pipe is corroding. You must eventually hire a licensed plumbing contractor to officially cut out the compromised section of the pipe, prep the fittings, and solder in a brand-new copper replacement to guarantee the integrity of your home’s water supply.
Thaw Frozen Pipes Safely to Prevent Massive Ruptures
In colder climates, winter brings the unique threat of frozen pipes. When water freezes inside a pipe, it expands with immense force. It is not usually the ice itself that bursts the pipe, but rather the immense water pressure that builds up between the ice blockage and the closed faucet.
If you turn on a tap during a deep freeze and only a trickle of water comes out, you likely have a frozen pipe. The immediate action is to leave the faucet open; this gives the melting water somewhere to go and relieves the pressure. Next, you must locate the frozen section, which is typically found in uninsulated spaces like crawlspaces, attics, or exterior walls.
To safely thaw the pipe, apply heat slowly and evenly. You can use a hair dryer on a medium setting, a portable space heater (kept a safe distance away), or wrap the pipe in an electric heating pad. Never, under any circumstances, use a blowtorch, an open flame, or a propane heater to thaw a pipe. Applying extreme, sudden heat will either cause the water inside to boil and explode the pipe, or it will ignite the surrounding wooden framing and burn your house down.
Because deep freezes often affect entire neighborhoods simultaneously, professionals get booked up within hours. Having an established, prior relationship with a reliable local plumbing company guarantees that when the cold snap hits and you need emergency thawing or burst pipe repair, you already have someone to call who will prioritize your emergency over a cold-caller.
Developing a Preventative Maintenance Schedule
Conduct Bi-Annual Inspections of Exposed Pipes and Appliance Hoses
The best way to handle a plumbing emergency is to prevent it from ever occurring in the first place. This requires shifting from a reactive mindset to a proactive one. Just as you change the oil in your car to prevent engine failure, you must conduct routine inspections of your home’s water infrastructure.
Set a calendar reminder twice a year to physically inspect every exposed pipe and water connection in your home.
-
Under Sinks: Empty out the cabinets under your kitchen and bathroom sinks. Look for water stains on the wood, feel the P-traps for moisture, and check the shut-off valves for signs of rust or crusty mineral deposits.
-
Water Heater: Inspect the base of your water heater for signs of pooling water or heavy rust, which indicates the internal tank is failing.
-
Washing Machine Hoses: This is a major failure point in many homes. Standard black rubber hoses degrade over time. Run your hands along the hoses; if you feel bulges, blisters, or cracking rubber, they are ready to burst. Upgrade these immediately to stainless steel braided hoses, which are far more resistant to bursting under pressure.
Monitor Your Home’s Water Pressure to Prevent Joint Stress
Water pressure is a Goldilocks scenario: you want it strong enough to take a comfortable shower, but if it is too high, it acts as a silent killer for your entire plumbing system. Municipal water lines often deliver water at extremely high pressures, which your home’s pressure reducing valve (PRV) is supposed to step down to a safe level.
However, PRVs can fail over time. If your water pressure exceeds 80 PSI (pounds per square inch), that force is constantly battering the weakest points in your system: the rubber gaskets inside your faucets, the internal valves of your washing machine and dishwasher, and the soldered joints of your copper pipes. Constant high pressure will cause appliances to fail prematurely and joints to eventually blow apart.
You can monitor this easily and cheaply. Purchase a simple water pressure gauge that screws onto an outdoor threaded hose spigot. Ensure all water inside the house is turned off, attach the gauge, and turn the spigot on all the way. A healthy home water pressure should read between 40 and 60 PSI. If your reading spikes to 80 PSI or above, your pressure reducing valve has likely failed and needs immediate replacement to protect the rest of your infrastructure.
Conclusion
Plumbing systems are the unsung heroes of modern living. Because the vast majority of our pipes, valves, and drainage lines are hidden behind drywall or buried deep beneath the lawn, it is incredibly easy to adopt an “out of sight, out of mind” mentality. However, water is a relentless force, and infrastructure inevitably ages. Pretending that a slow leak will fix itself or that a gurgling drain is just a temporary quirk is a dangerous gamble that almost always results in severe property damage and massive expenses.
Preparedness is your ultimate defense. You now know how to quickly isolate electrical hazards and shut off your water supply to stop a disaster in its tracks. You understand the chemistry of why harsh drain liquids do more harm than good, and you have the mechanical knowledge to safely use plungers and hand augers. By respecting what you put down your kitchen sink, recognizing the warning signs of underground failures, and treating temporary fixes exactly as they are—temporary—you have the tools to protect your home.
Do not wait for a crisis to implement what you have learned. Take ten minutes today to build a basic home maintenance plan. Go find your main shut-off valve, ensure you have a proper flange plunger and a bucket stored where they are easily accessible, and compile a list of emergency contacts before you actually need them. When you take control of your home’s maintenance proactively, you ensure that a sudden leak remains a minor inconvenience rather than a life-altering catastrophe.